
Last updated November 21, 2026
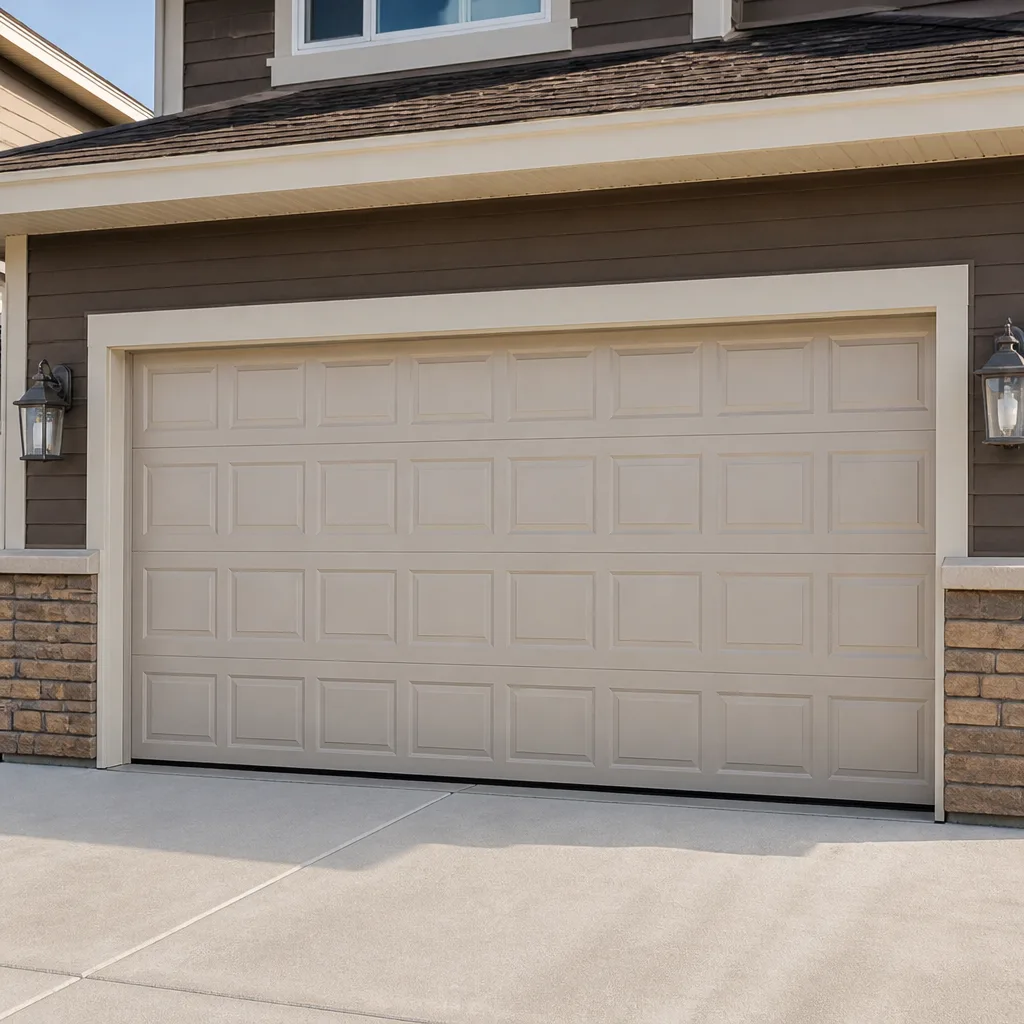 Raised-panel steel
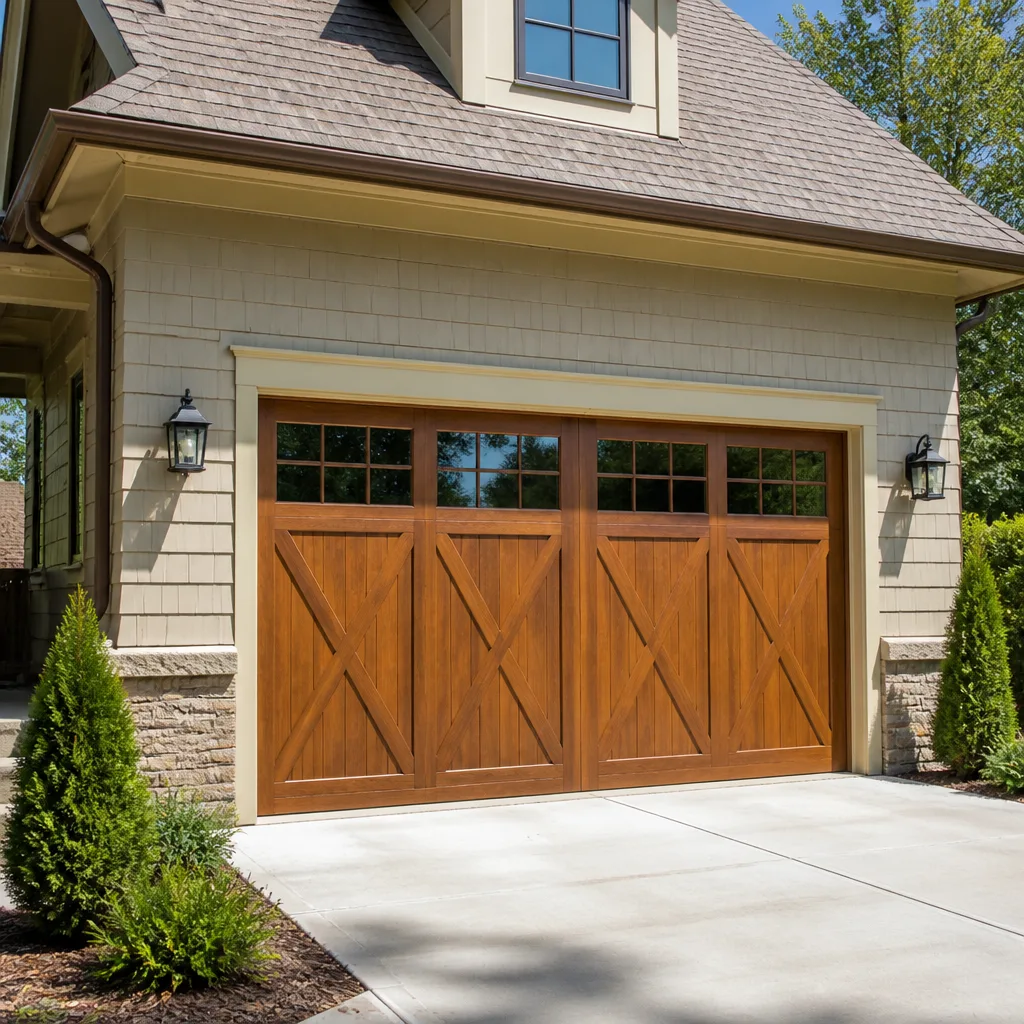 Carriage house
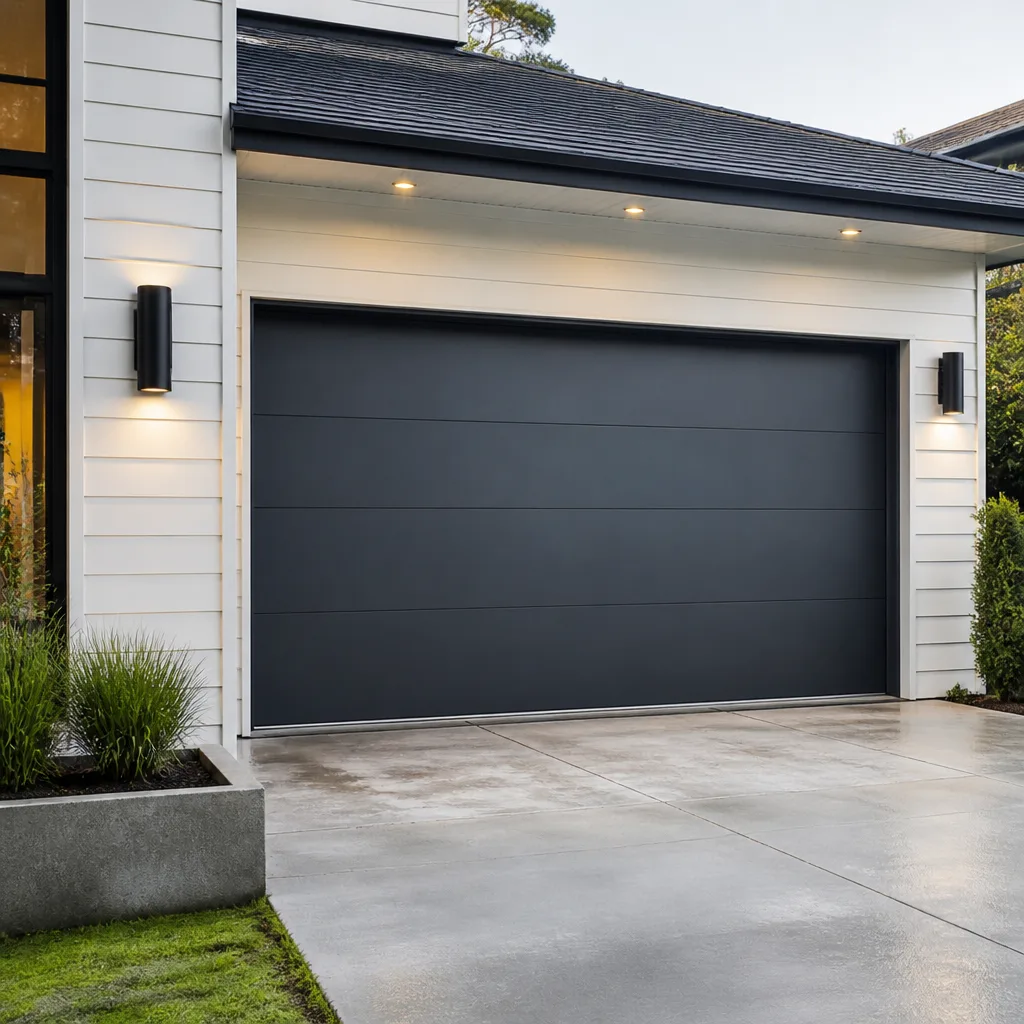 Modern flush
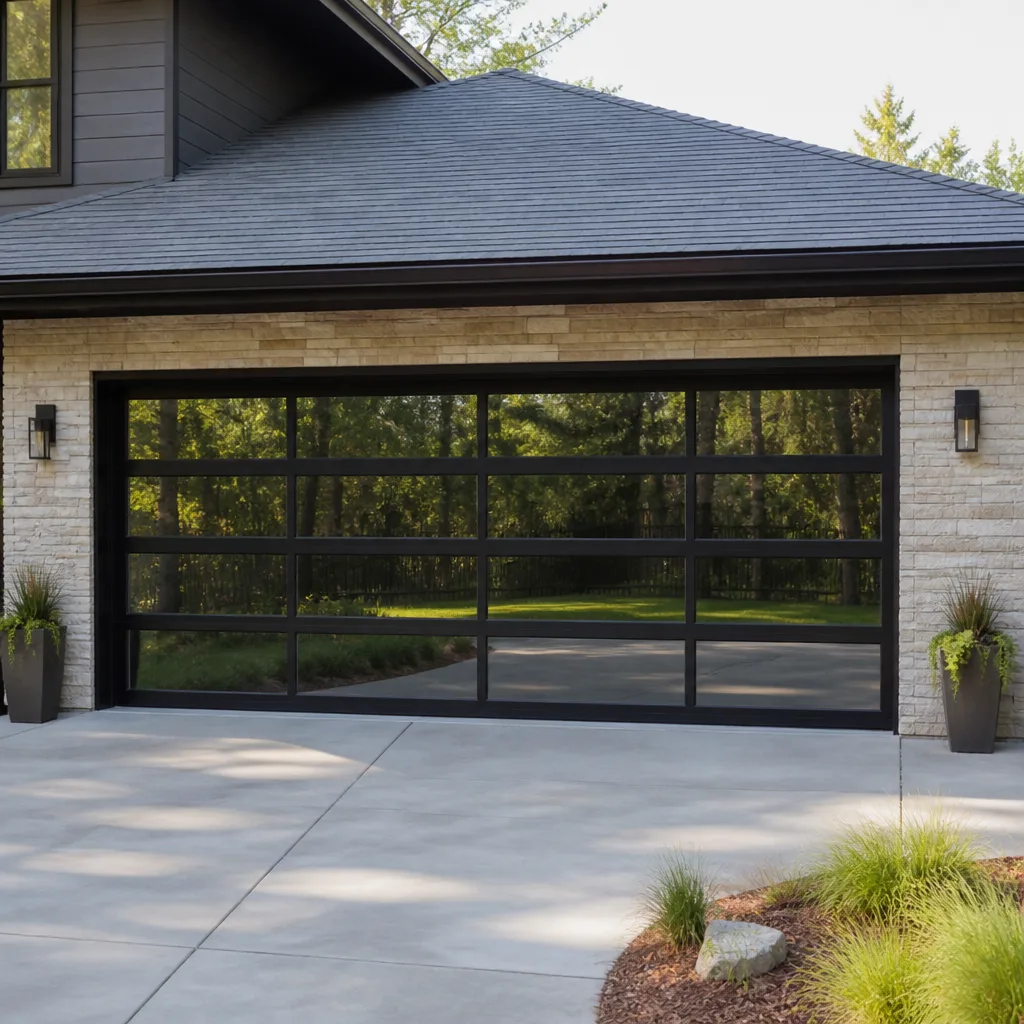 Full-view glass
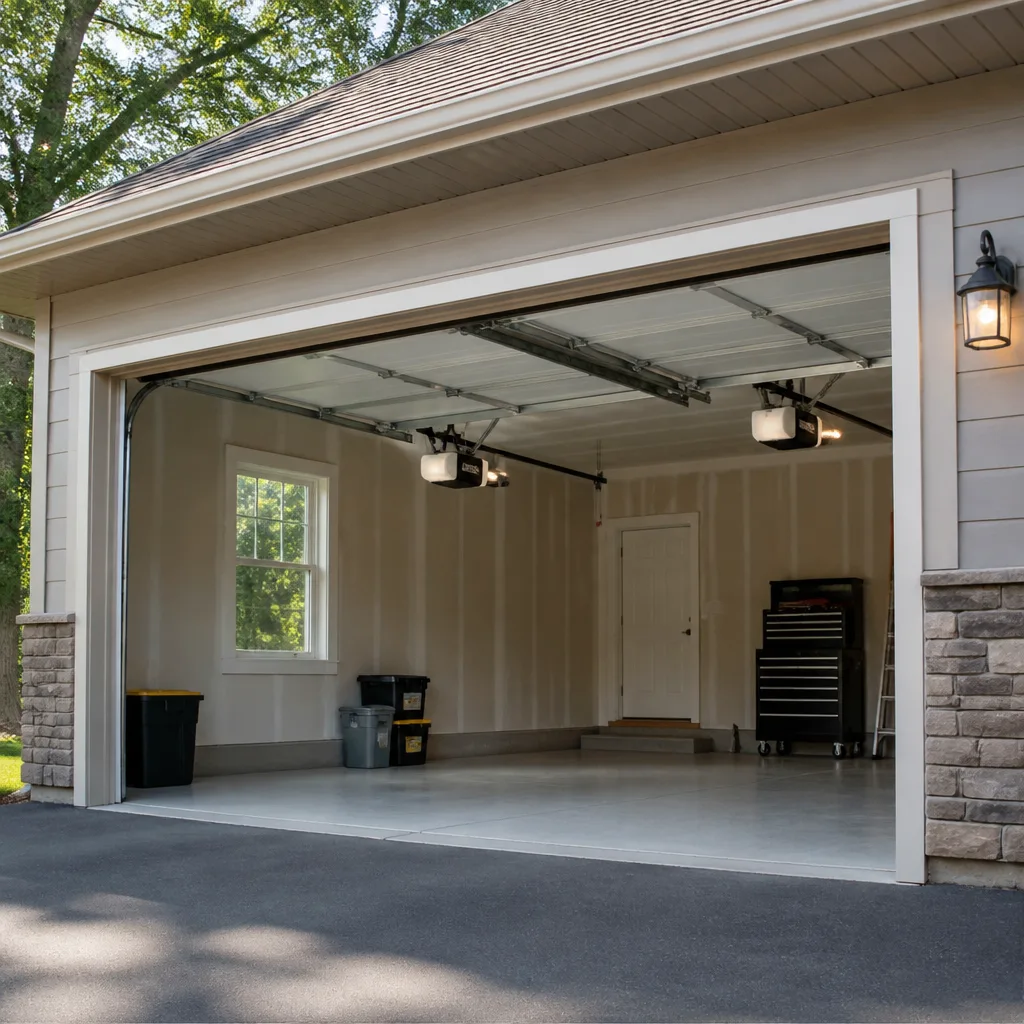 LiftMaster openers
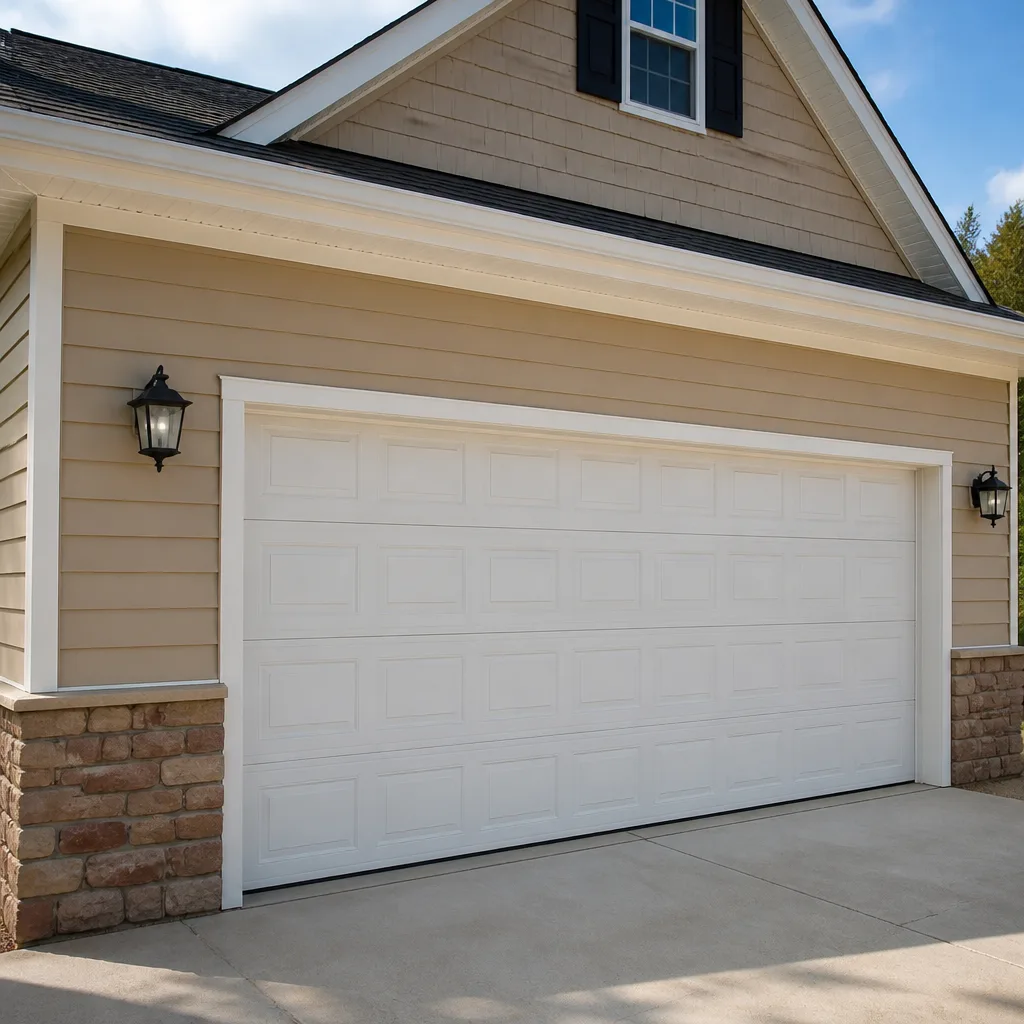 Chamberlain openers
Full 25-point door and opener safety check with every visit - springs, cables, rollers, tracks, and your LiftMaster or Chamberlain opener included
You get a price before we start. It does not change when the pro arrives.
Get your free estimateGarage Door Repair Maintenance Checklist for Southampton Homeowners
Search for a garage door maintenance checklist and you’ll find the same advice repeated everywhere: lubricate the springs, tighten the bolts, call a pro. That first tip is the one that worries us. Torsion springs are wound to enormous tension, and oil or grease on a spring collects grit that grinds against the coils, which is a good way to shorten the life of the part that does the most work. What a technician actually does on a service call is more specific than a generic list. This guide gives you the same pass/fail criteria we use: what to look at, what number counts as a fail, and what to leave alone. You’ll finish knowing which problems in a Southampton garage are watch items and which are same-day calls.
Quick Answer
A working maintenance routine checks five things: the balance of the door at its midpoint, the condition of the cables, the opener’s force-limit safety reverse, the weatherstripping seal, and the lubrication map (hinges, rollers and tracks only, never the torsion springs or bottom brackets). A door that drifts more than two inches off its midpoint within 60 seconds, shows frayed cable strands, or fails the reverse test needs professional attention rather than another round of tightening. Most of this inspection takes under 15 minutes and can be repeated every season.
Styles & brands we work with
- Raised-panel steel
- Carriage house
- Modern flush
- Full-view glass
- LiftMaster openers
- Chamberlain openers
Table of Contents
- The Correct Lubrication Map for a Garage Door
- The Balance Test: How to Measure a Pass or Fail
- Cable Inspection: Fraying Stages and When to Stop Using the Door
- The Opener Force-Limit Test You Can Run in 90 Seconds
- Weatherstripping in Southampton’s Seasonal Swings
- Springs: What to Observe and What Never to Touch
- A Seasonal Maintenance Schedule for Southampton
- Brand-Specific Notes: LiftMaster, Wayne Dalton and More
The Correct Lubrication Map for a Garage Door
Lubrication is where most homeowner checklists go wrong, because “apply lubricant to moving parts” is not the same instruction as “apply the right product to the right parts.” Get the map right and the door runs quieter for longer. Get it wrong and you’ve either attracted dust into places it doesn’t belong or washed out the factory lubricant that was already doing its job.
What gets lubricated
- Hinges: one or two drops of a light lithium grease or a silicone-based spray at each pivot point. Wipe off the excess; a hinge packed with grease just collects grit.
- Rollers: the bearing end, not the wheel itself. A nylon roller needs very little; a steel roller benefits from a light coat on the stem.
- Tracks: a thin film of silicone spray on the inside curve, not a grease coat. Grease in a track turns into a paste that slows the door and stains the panels.
- Lock and handle (if fitted): a graphite or dry lubricant so it doesn’t gum up with dust.
What never gets lubricated
- Torsion springs: these are under extreme tension. Oil attracts grit that accelerates wear on the coils and increases the risk of a break. Leave them dry.
- Bottom brackets and cables: these are load-bearing components. A lubricated cable can slip in its drum; a lubricated bracket invites corrosion under the film. Don’t touch them.
- Photo-eye lenses: a greasy fingerprint on the safety sensor lens confuses the beam. Wipe clean with a dry cloth only.
We work on the brand you already own, and the lubrication map is essentially the same whether you have a Wayne Dalton panel door or a heavier insulated model. The product choice matters more than the brand. Silicone spray on the tracks and hinges, a light lithium grease where a grease is called for, and nothing at all on the springs.
The Balance Test: How to Measure a Pass or Fail
The balance test tells you whether the springs are still carrying the door’s weight correctly, or whether the opener is doing work it was never designed to do. It’s also the most commonly botched check, because most guides say “does the door feel balanced?” That’s a feeling, not a measurement. Here is the measurement.
- Disconnect the opener. Pull the manual release cord (usually red) hanging from the trolley so the door is on manual operation only. Never run the test with the opener engaged.
- Raise the door to roughly halfway. Let it settle for a moment, then release it.
- Time the drift. If the door holds position, that’s a pass. If it drifts downward more than two inches in 60 seconds, that’s a fail.
- Repeat at quarter-open and three-quarters-open. A door can pass at midpoint and fail elsewhere if a spring is fatigued.
A spring that has lost tension doesn’t fail the way a spring that has snapped does. It just gets tired, slowly, and the door starts to feel heavy. The opener compensates without complaint for months. That’s the point where a homeowner usually decides the door is “stiff” and books a general handyman to tighten something. The balance test tells you it’s a spring tension problem in 60 seconds. From there, the door needs a specialist. Spring repair is high-tension work, and the springs and cables that run them are not a homeowner job, which is why we treat garage door spring repair as its own dedicated service. If the balance test fails, stop operating the door on the opener until it’s inspected.
Cable Inspection: Fraying Stages and When to Stop Using the Door
Cables are the part of a garage door system that most often surprises a homeowner, because failures look gradual before they look sudden. A cable that has begun to fray doesn’t announce itself. You have to look.
The three stages of cable fraying
- Stage one – surface wear: the outer wire strands look slightly flattened or polished. No loose strands, no burrs. This is a watch item; note it and re-check in a month.
- Stage two – individual strand breaks: one or two broken strands poke out of the cable near the drum. This is the point where you call for an inspection. Don’t keep cycling the door on the opener while you wait.
- Stage three – multi-strand break or kink: several strands are gone, or the cable has kinked into a visible curl near the drum or bottom bracket. Stop using the door completely. This is a same-day replacement, not a “watch it” situation.
Look along the whole cable run, not just the part you can see from the middle of the garage. The failure points are near the drum at the top and at the bottom bracket where the cable attaches. If you have to move a ladder to see it, that’s fine; just don’t put your hand anywhere near the drum or the bottom bracket while the door is under tension.
Several conditions make this inspection important to keep on a schedule. Doors that see heavy daily cycling (a busy household with two cars and regular comings and goings) stress the cables more. Doors with older cables that were never inspected deserve a look even if they’re quiet. If you find a stage two or stage three cable, don’t use the opener and call for garage door repair rather than waiting to see whether it holds.
The Opener Force-Limit Test You Can Run in 90 Seconds
The force-limit safety reverse is built into every modern opener and is the single most important safety feature on the system. It’s designed to stop and reverse the door when it meets an obstruction. If that limit drifts out of adjustment, the door stops being safe for children and pets. Most homeowners have never run the test.
The procedure is simple and takes less than two minutes.
- Clear the doorway. Make sure no one is standing under or near the door.
- Place a test object. A 2×4 laid flat on the ground under the center of the door is the standard method. Some openers specify a 2-inch-thick object in their manual; use the manual’s guidance if it differs.
- Close the door using the wall button. The door should contact the object and reverse within two seconds, within the distance your opener’s manual specifies. A door that keeps pressing down on the object, or reverses only after a delay, fails.
- Test the photo-eye safety beam separately. With the door open, wave a hand or a broom handle through the beam between the two sensors at the bottom of the tracks. The door should not move from the open position when the beam is broken; if it’s mid-travel, it should reverse.
- Note the result. A door that passes both tests is set correctly for that day. Re-test every season.
A force-limit failure is not something to adjust by feel. Openers from LiftMaster, Chamberlain, Genie and Craftsman all have a limit-adjustment procedure in their manual, but the correct setting depends on the door’s weight and balance. If the door fails the test, the underlying issue may be the door itself (belts, rollers, springs) rather than the opener. That’s a diagnosis question, and it’s the kind of thing we handle under garage door opener repair.
Weatherstripping in Southampton’s Seasonal Swings
Weatherstripping fails in two distinct ways, and the cause usually tells you which way you’re looking at. The rubber seal at the bottom of the door is the part most homeowners think of as weatherstripping, but the seal is a system: bottom seal, side and top perimeter seals, and the threshold at the floor. Each has its own condition criteria.
Winter compression damage
After a cold stretch, the bottom seal can take on a compressed or set shape where it meets the floor. Run your hand along the inside of the closed door at the floor line: if you can feel daylight or cold air coming through at any point, the seal has set in that position and won’t recover on its own. Look for a visible flat spot in the rubber rather than a rounded curve. A door whose bottom seal has set will show a strip of daylight under the closed door at the points where it rests on a raised threshold lip.
Summer UV degradation
The same rubber that compresses in winter dries and cracks in summer sun. Look for hairline cracks running across the seal, a chalky surface, or pieces of rubber flaking off at the edges. UV damage is usually worst on the side of the door that gets the most direct morning or afternoon sun. If you can scratch the surface with a fingernail and it powders, it’s UV-degraded.
The perimeter seals and threshold
The thin strips that run along the sides and top of the door frame are usually foam-core or vinyl; they fail by flattening (no longer touching the door edge) or by pulling away from the frame. The threshold is a rigid lip on the floor under the door; check that the bottom seal actually compresses against it when the door closes. If the threshold has cracked or come loose, that’s a bigger fix.
Southern Missouri climate alternates between humid summers and cold winter snaps, which is a hard cycle on rubber. Replacing a bottom seal is a modest job that makes a real difference to drafts and to how often the opener has to work. If the perimeter seals or threshold need replacement too, it can be worth doing with the door checked over at the same time.
Springs: What to Observe and What Never to Touch
Springs deserve their own section because they’re the part that fails most often and the part most likely to injure a homeowner who oversteps. There are two types: torsion springs, which run horizontally above the door and twist to lift, and extension springs, which run along the side tracks and stretch. Both are under heavy tension in normal operation.
What you can observe
- A visible gap or split in a torsion spring coil. If a coil has broken, the door will feel extremely heavy and may not lift. Stop using the door.
- A stretch or kink in an extension spring or its safety cable. If the spring looks longer than its neighbours or the safety cable looks slack, that’s a sign the spring has lost tension.
- Rust or paint flaking on a torsion spring can suggest a coil has failed internally; don’t assume the outer coating is the whole story.
- Balance test results are the best non-touch indicator of a spring losing tension before it fails.
What you should never do
Do not attempt to adjust, unwind, replace or “tighten” a torsion spring yourself. This is the most dangerous part of the entire door system, and the failure mode when something slips is severe. A trained specialist uses winding bars and specific procedures to control the spring safely. The same goes for the cables and the bottom bracket that holds the lower end of the system. Call a specialist. The professional who handles it will be trained for it, and will bring the right tools. We offer garage door installation and full spring replacement as part of the same service, so if a spring finally reaches end of life, it’s covered by the same call.
A Seasonal Maintenance Schedule for Southampton
Most checklists treat maintenance as a once-a-year event. In our experience, the right cadence for a Southampton home is quarterly, because each season puts different stress on the door and each check surfaces different issues. Here’s a schedule built around the local pattern: cold winters, humid summers, and abrupt swings in between.
- Early spring (after the last hard frost): walk the balance test and inspect the cables for winter-related wear. Check the weatherstripping for compression set at the floor. This is the season where a tired spring that got through the winter reveals itself.
- Late spring (before summer heat): lubricate the hinges, rollers and tracks per the map above. Inspect the perimeter seals for UV chalkiness. Run the force-limit and photo-eye tests.
- Early fall (before cold sets in): re-run the balance test and force-limit test. Clear any debris from the tracks. Check the threshold for cracks or loose edges that cold weather will make worse.
- Late fall / early winter (before the first freeze): final weatherstripping check, final force-limit test, and a look at the springs for visible fatigue. Report anything concerning so it can be reviewed before the cold.
A related question that comes up regularly: how often do you clean the tracks? A soft cloth and a light spray is enough to move grit and light rust. If a track is bent or misaligned, don’t force it. A bent track will bind the rollers and prevent the door from closing properly, and it needs professional realignment. A door that binds also forces the opener to pull harder, which strains the force-limit setting. If you find that pattern, book garage door repair for the track and address the opener at the same time.
Brand-Specific Notes: LiftMaster, Wayne Dalton and More
Maintenance items are largely uniform across brands, but there are small brand-specific quirks worth knowing. We work on the brands most often found in residential garages: LiftMaster, Chamberlain, Genie, Clopay, Amarr, Wayne Dalton, Craftsman and Raynor. A few observations from those:
- LiftMaster and Chamberlain openers share much of their internal logic (they’re closely related brands), and both expose force-limit adjustment through a wall-panel access method. Genie and Craftsman openers use their own procedures. Follow the manual that came with your opener.
- Wayne Dalton doors appear in a very wide range of configurations in residential garages, and their balance and spring arrangement can differ meaningfully from a lighter panel door. Balance test results should be interpreted per the door’s own weight, not as a universal number.
- Raynor and Clopay doors can have specific bottom-seal profiles. If a seal replacement uses the wrong profile, it won’t seal correctly. This is one benefit of working with a specialist: the right part for the right door.
- Older Craftsman openers are still in service in a lot of homes, and their force-limit systems behave differently from newer openers. A test that passes on a newer opener isn’t the same test on an older one; use the manual’s guidance.
Parts on hand, not on order. When a weatherstrip, roller, hinge or spring needs replacing, having the right part available is what turns a repair into a same-call fix rather than a return visit. We stock parts for the brands above as part of the service. That’s part of “one call covers it all” – it’s not a slogan, it’s the difference between two visits and one.
Common Mistakes to Avoid
- Lubricating the torsion springs. It’s on half the checklists online and it does more harm than good. Springs should stay dry to avoid collecting grit that wears the coils.
- Running the balance test with the opener engaged. The opener will pull the door back to where the chain wants it, and the drift test becomes meaningless. Disconnect the opener first.
- Treating a one-inch drift as “close enough.” It’s the two-inch threshold within 60 seconds that tells you the springs are tired. Anything drifting toward that number deserves a look.
- Adjusting the force limit by feel. The force limit isn’t a setting you get “about right.” Test it with the obstruction method and use the manual’s numbers, not intuition.
- Ignoring a kinked cable because the door still works. A stage-three cable is a same-day replacement. The door running does not mean it’s safe.
- Assuming a bottom seal is fine because the garage “feels” warm. Check for daylight and compressed sections at the floor. A sealed door is quieter and puts less strain on the opener.
- Replacing the whole door when a spring has failed. In our experience, a failed spring, cable or opener is usually a repair issue, not a replacement issue. Get a written estimate for the repair before considering a new door.
See the difference
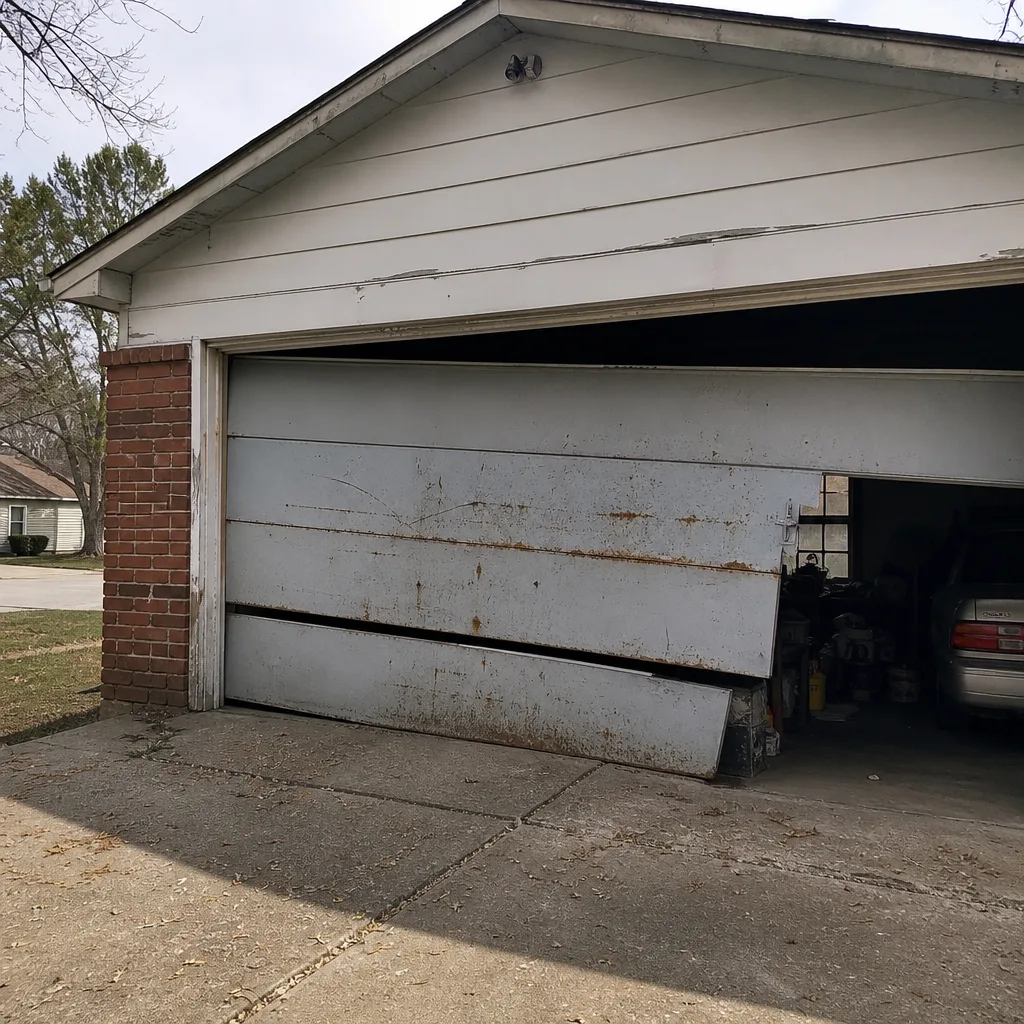 Before
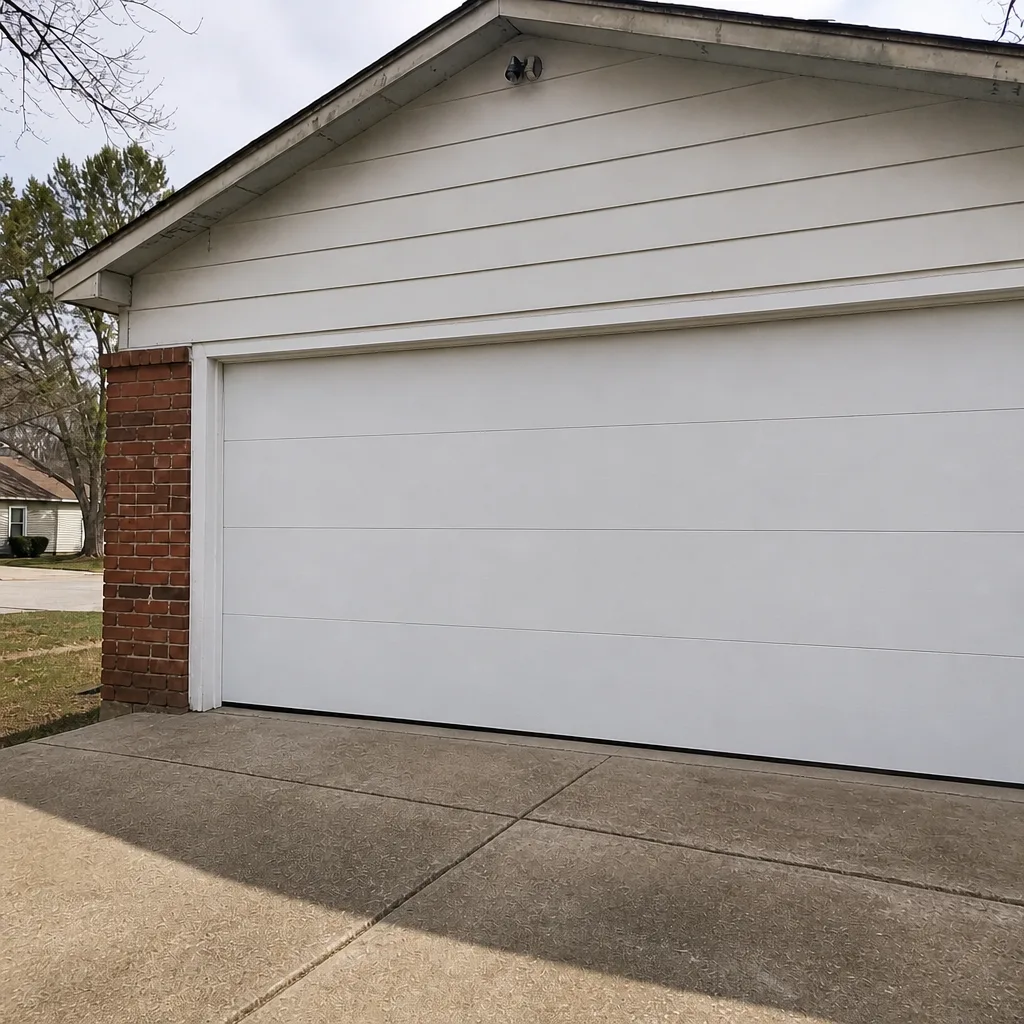 After
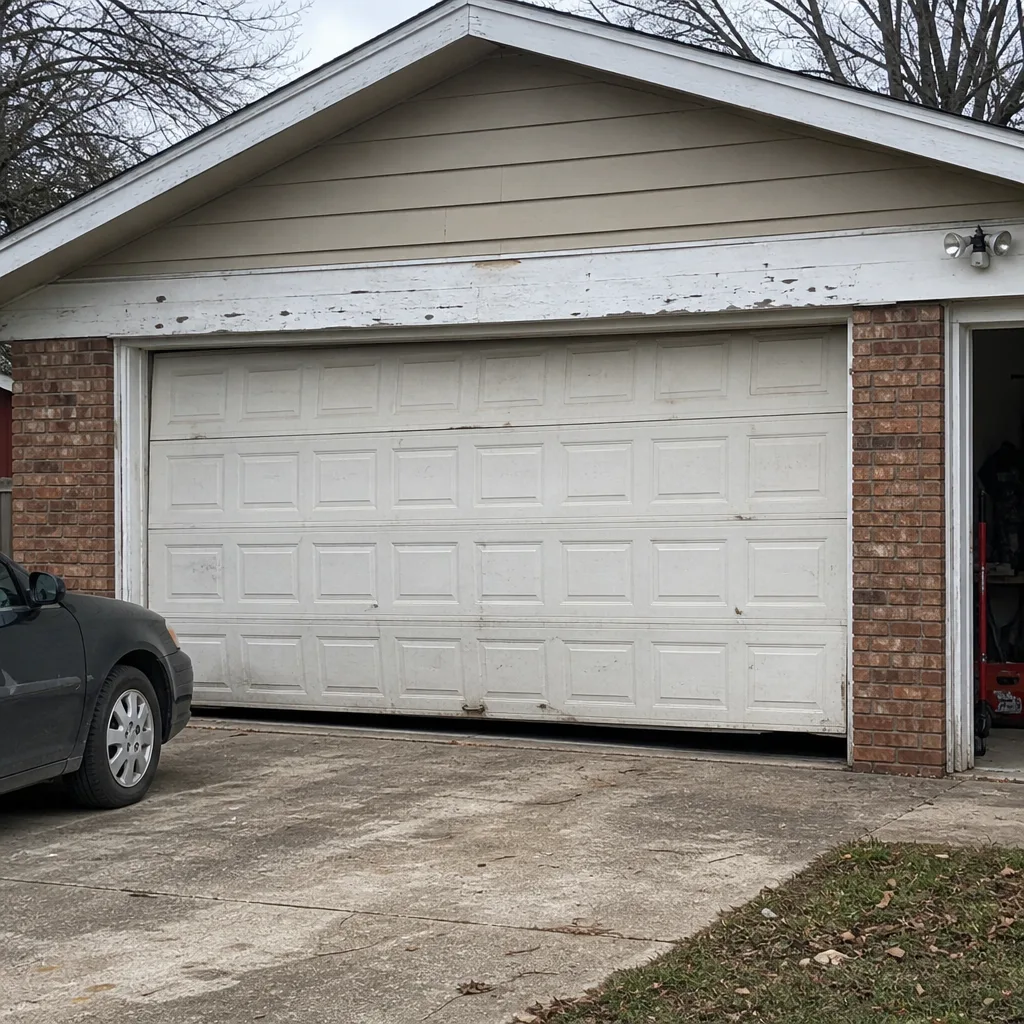 Before
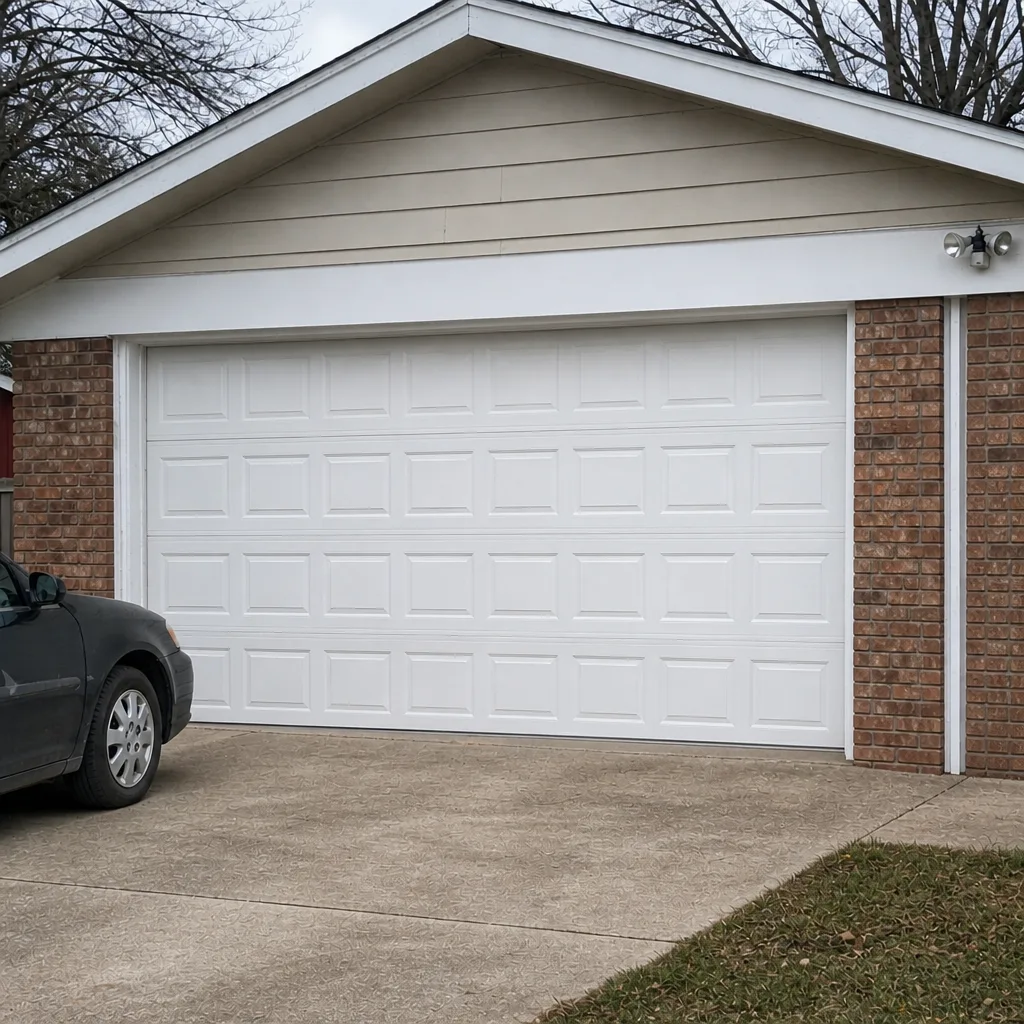 After
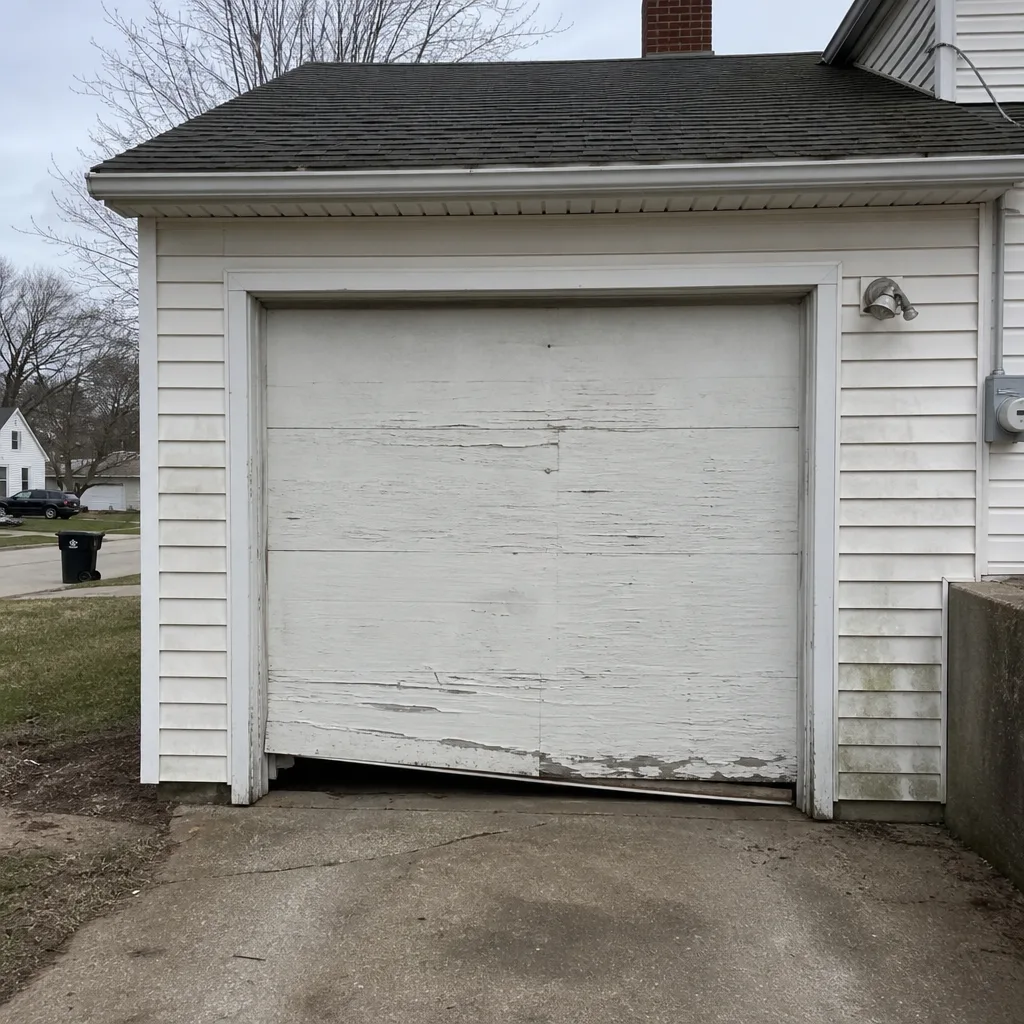 Before
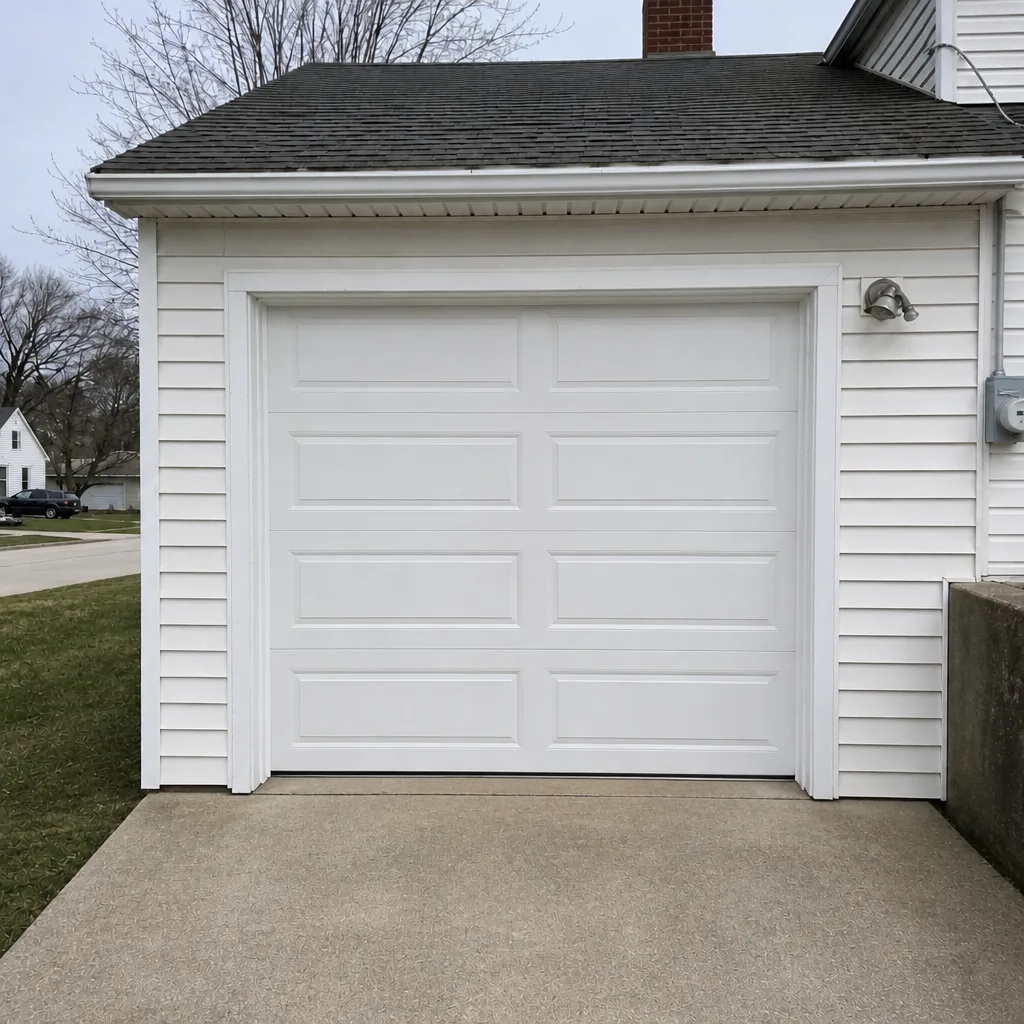 After
When to Call a Professional
Some items on this checklist are homeowner tasks; others are not. Running the balance test, the force-limit test, the visual cable inspection and the weatherstripping check are all safe DIY tasks and worth doing every season. Lubricating hinges, rollers and tracks, and replacing a bottom seal, are also within reach for a careful homeowner. What’s not a DIY task: any spring work, any cable replacement, any bottom bracket adjustment, and anything involving a broken or binding track. If you’ve found a balance test fail, a stage-two or stage-three cable, a broken spring, or a force-limit failure you can’t resolve with the manual, that’s a professional call. Southampton Garage Door Repair Pros offers free estimates in Southampton – call (866) 809-2029. We answer 24/7. Fast dispatch from 7am to 7pm, Sunday through Friday. Our technicians have up to 14 years of experience, and we work on the brand you already own.
Frequently Asked Questions
The five essential checks are the balance test at the door’s midpoint, a full cable inspection, the opener force-limit and photo-eye safety tests, a weatherstripping condition check, and a lubrication pass on hinges, rollers and tracks only – never on the springs or bottom brackets. Run the full set every season. For Southampton homes, the early-spring and late-fall passes matter most because of the seasonal temperature swings.
Run the balance test: disconnect the opener, raise the door to midpoint, release it, and time it. A door that stays put is passing. A door that drifts more than two inches in 60 seconds has a spring tension problem, not a “stiff door,” and it needs professional inspection. Don’t try to adjust or tighten the springs yourself – that work is high-tension and dangerous. Call (866) 809-2029 for an estimate – estimates are free.
Once every three months or so is a reasonable default for a typical residential door in Southampton. Lubricate the hinge pivots, the roller bearings and the inside curve of the tracks, using a light lithium grease for hinges and a silicone spray for tracks. Leave the torsion springs, bottom brackets and cables dry.
Fraying moves in stages: first the wire looks polished or flattened, then a few broken strands poke out near the drum, then multiple strands break or the cable kinks into a curl. At the second stage, call for an inspection. At the third stage, stop using the door. Frayed cables are the second most common cause of a door failure we see, and the earlier it’s spotted, the simpler the repair.
Yes, and you should – it’s a built-in safety check that takes about 90 seconds. Place a 2×4 flat on the ground under the center of the door, close the door with the wall button, and confirm it reverses on contact within the delay your opener’s manual specifies. Test the photo-eye beam separately by breaking the beam with a hand or broom handle. If either test fails, don’t adjust the force limit by feel – have the system diagnosed.
Most likely, yes. We work on LiftMaster, Chamberlain, Genie, Clopay, Amarr, Wayne Dalton, Craftsman and Raynor, which together cover the widest installed base of residential doors and openers in Southampton. Call (866) 809-2029 and tell us the brand and model – we can usually identify whether a part is in stock and whether a same-day repair is possible.
The Bottom Line
A maintenance checklist is only useful if it tells you how to check, not just what to check. The five checks in this guide – balance test, cable inspection, force-limit and photo-eye safety, weatherstripping condition, and the correct lubrication map – are the same ones a technician runs, and they can be repeated every season in a Southampton home. The most important correction to the standard online advice: springs stay dry, and any spring or cable work is a specialist job. Run the tests, keep a note of what you find each season, and call when a pass becomes a fail. That’s how you get years of reliable service out of the door, and the difference between a repair and a replacement can often be caught in a 60-second balance test.
Ready to book a maintenance visit or a repair estimate? Call Southampton Garage Door Repair Pros at (866) 809-2029 for a free estimate. We answer 24/7. Fast dispatch from 7am to 7pm, Sunday through Friday. Or start with our Southampton Garage Door Repair Pros service overview to see the full range of what we cover.
Written by the team at Southampton Garage Door Repair Pros.